Assembly Guide - Chassis Assembly
Assembly Guide - Chassis Assembly

Let’s get started with our chassis build. You should have a top. Bottom, two sides and a front and back. 6 pieces in total. You can use super glue or Weldon #4 to glue the chassis together.
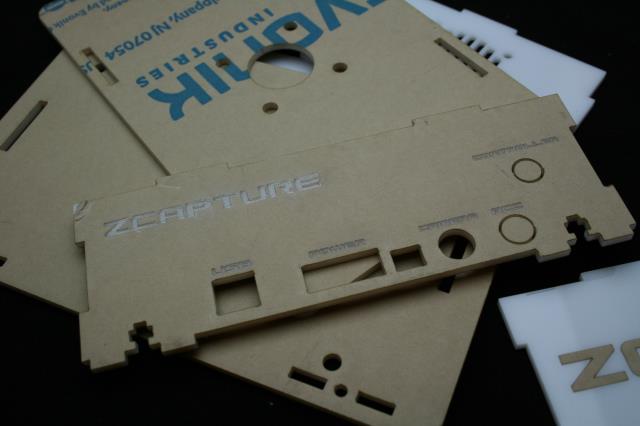
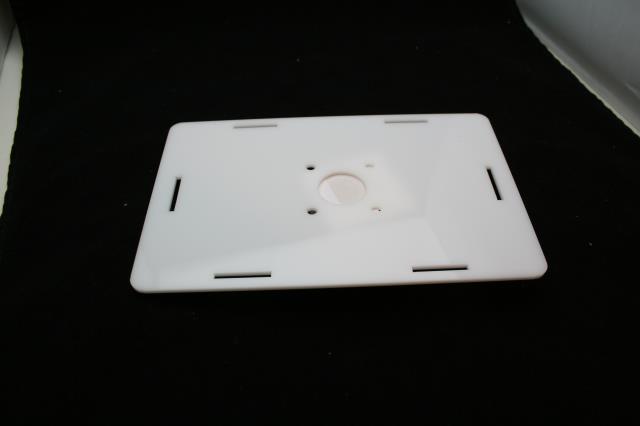
Find the front plate for the chassis and a black sharpie
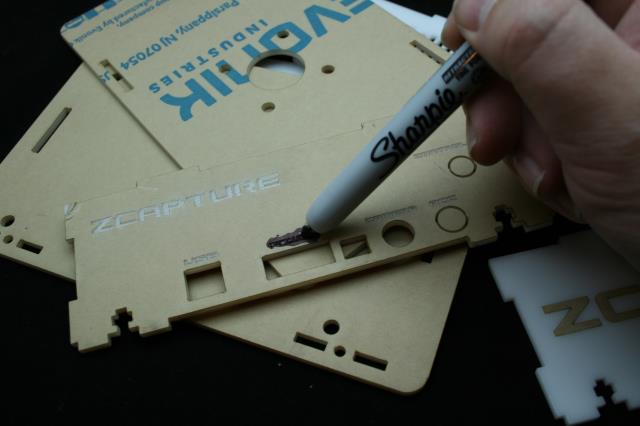
Fill in the lettering with the sharpie before you pill the paper off. This will give you a clean sharp fill without the need to clean up after.
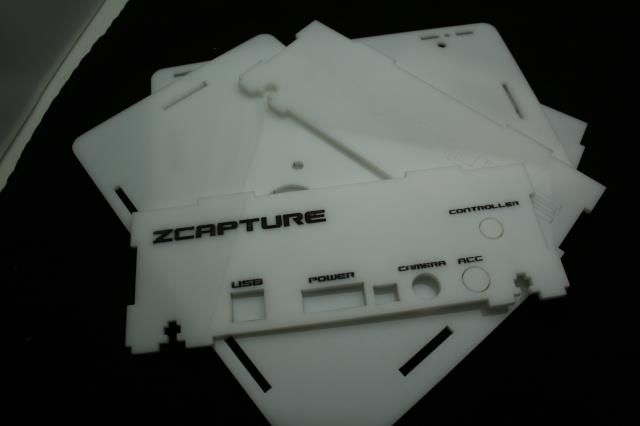
Pill off the protective paper from the acrylic.
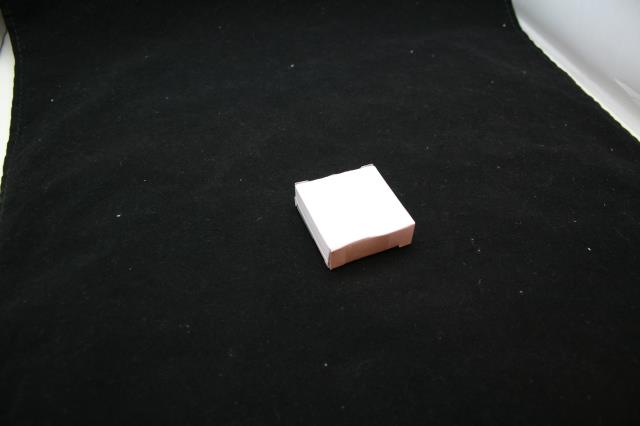
Next we will need a stand that is small enough to hold the chassis up but not to large as to allow wicking of the glue if it runs.
Place the top plate on the spacer. We will be building and gluing it upside down to insure the glue cures properly.
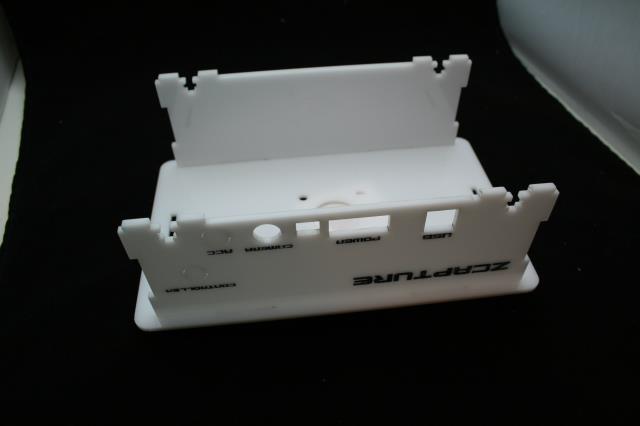
Next the front and back sides. Make sure the text is on the outside.
Next add the sides in.
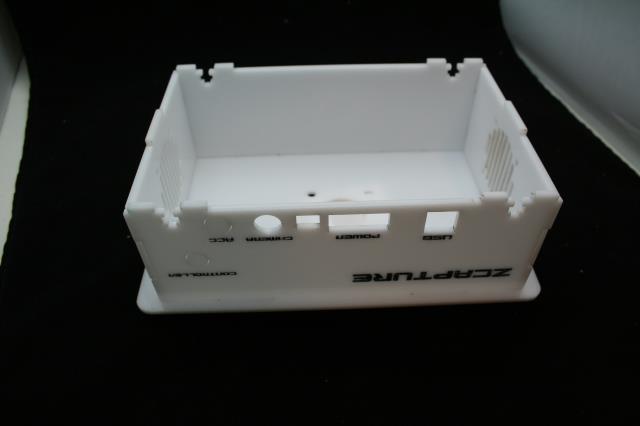
Finally add the bottom as the top to hold the pieces in place.
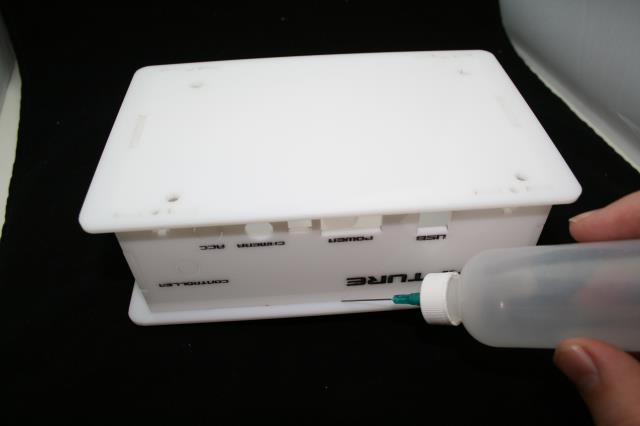
Using a fine tipped applicator glue place a bead of glue around the chassis as shown. We are using Weldon #4 so it likes to fill gaps. Also glue the side tabs from about the midpoint down.
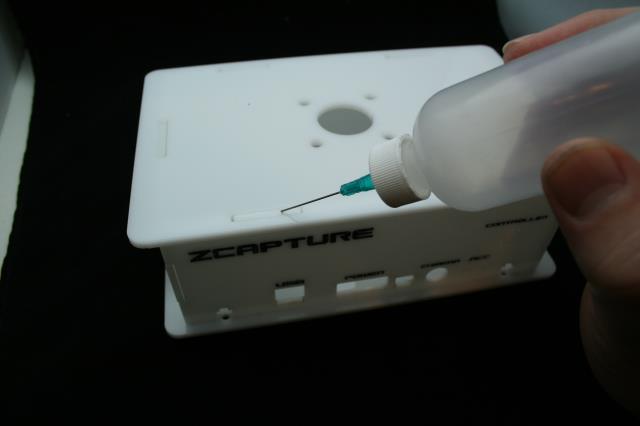
Next use a small amount of glue and let it flow into any gaps in the tabs on the top plate. Note we turned this upside down for this step only after the glue had cured.
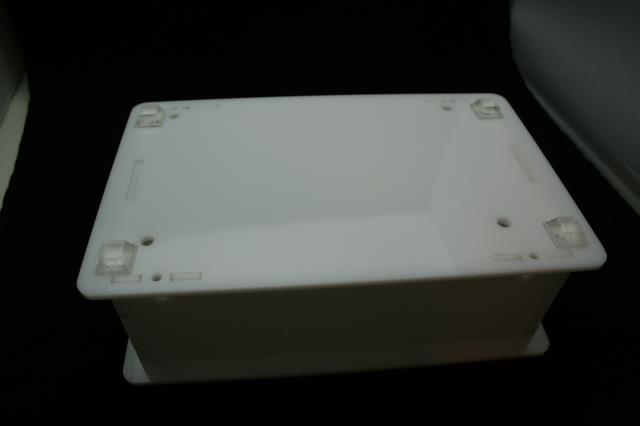
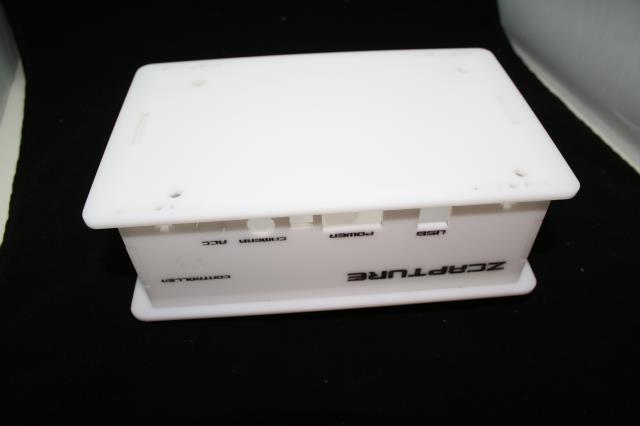
Add the rubber feet to the corners. Make sure to leave space around any holes so that nuts in the future can be added without conflict.
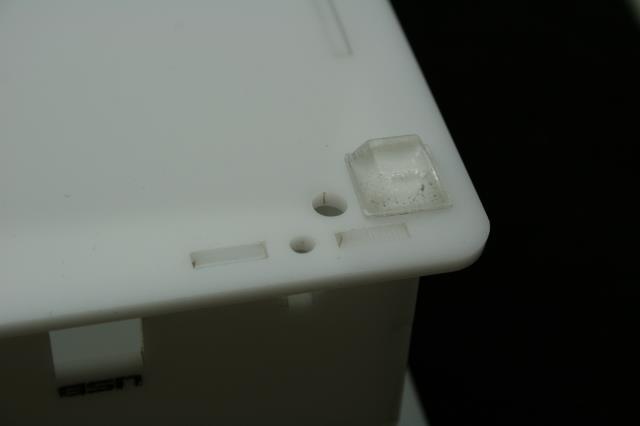
Just a quick note for orientation. The proper placement of the top corner under the usb jack.