Assembly Guide - Remote Jack Assembly
Assembly Guide - Remote Jack Assembly
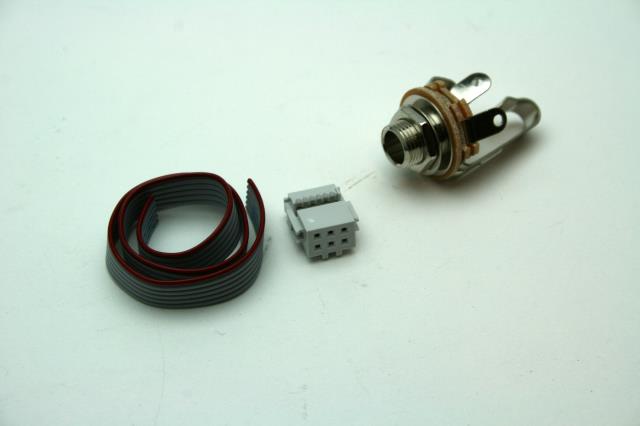
Here we have the components for the jack assembly. You will also need some wire strippers, wire cutters, soldering iron and a pair of pliers.
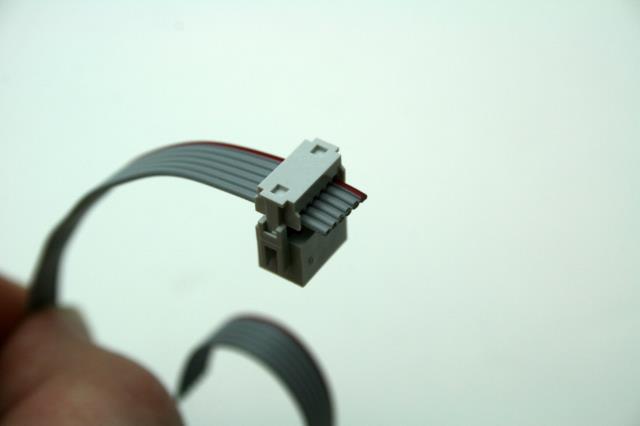
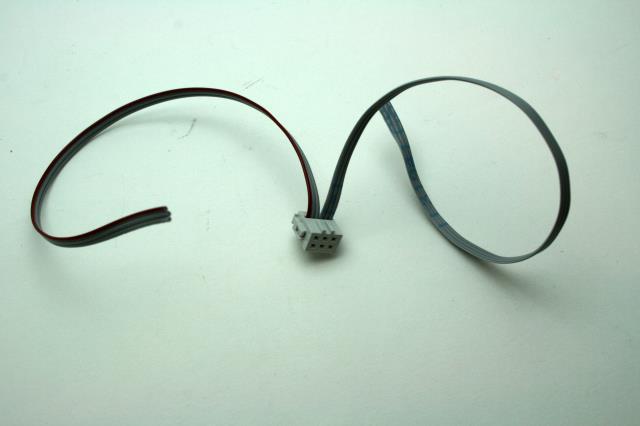
Step one; we need to crimp the ribbon to the terminal socket. Note the alignment here. The red wire is on the top and the tab on the jack is on the inside.
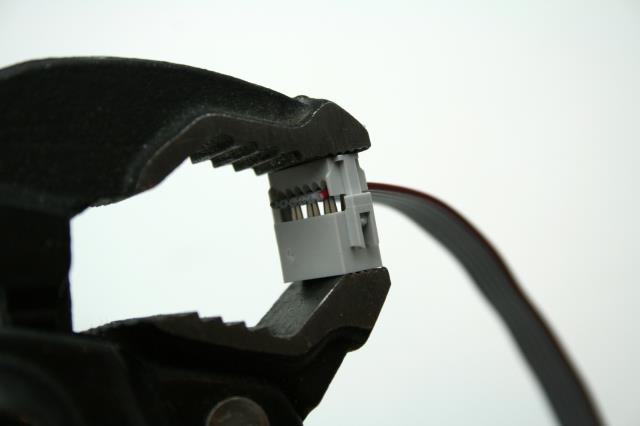
Using a pair of pliers crimp the ribbon cable. If you are unsure about this it is ok to have a little extra hanging out the back and you can trim it up after words.
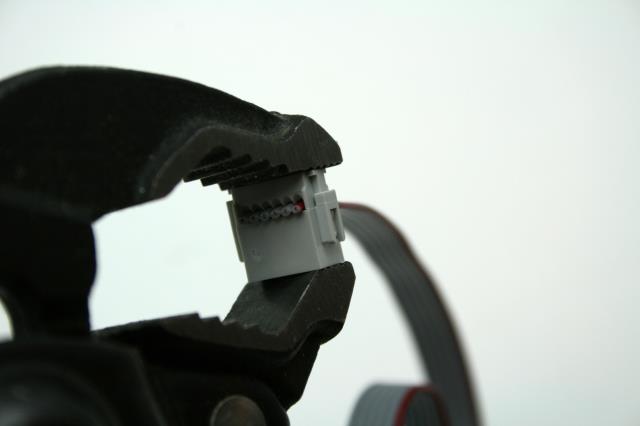
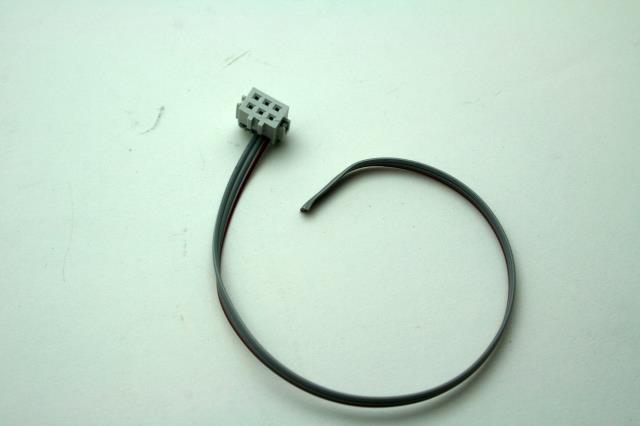
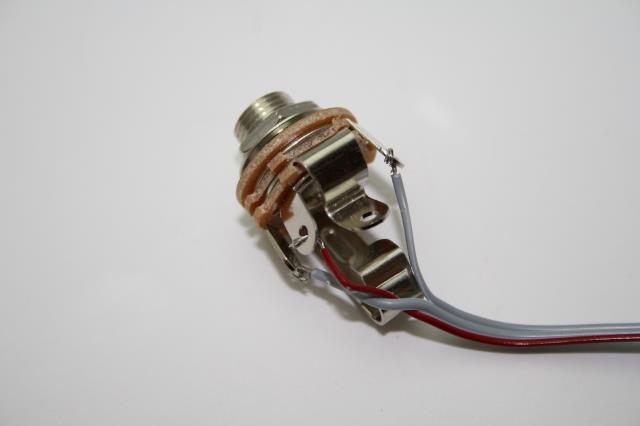
Here we can see a proper crimp.
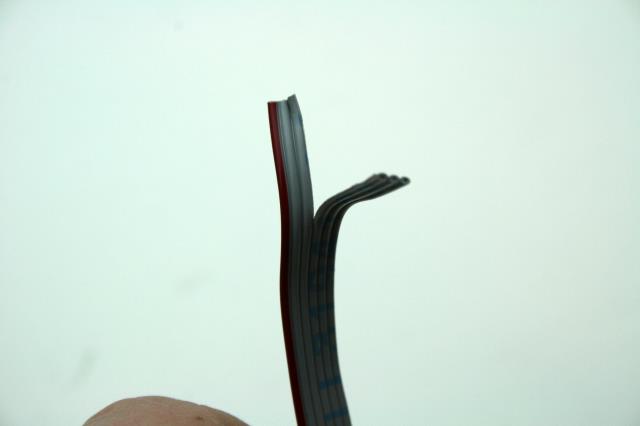
Next we need to separate the ribbon cable down the middle. Three sets on each side.
Here we can see the split ribbon.
Next we will cut off the extra on the ribbon. Keep the red half of the ribbon as shown.
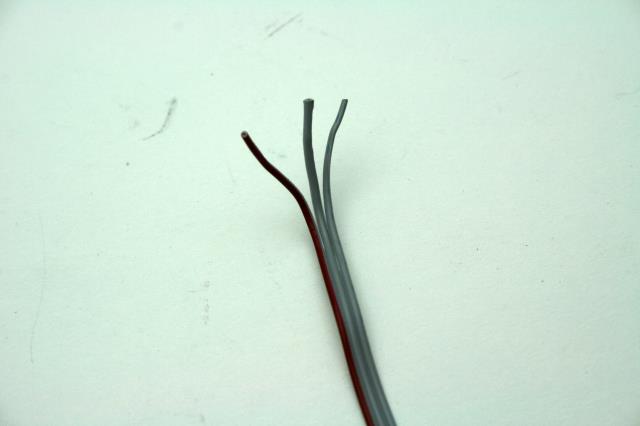
Next separate the ribbon cable into separate wires with about an inch of length each.

Strip the cables so that you have roughly ¼ inch of wire exposed.
Attach the wires to the ¼ inch stereo jack as shown. Note that the red wire is in the center terminal and the middle wire is to the left.