Assembly Guide - Final Assembly
Assembly Guide - Final Assembly
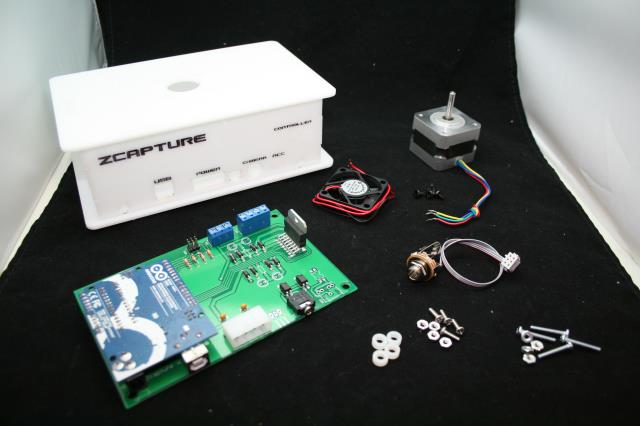
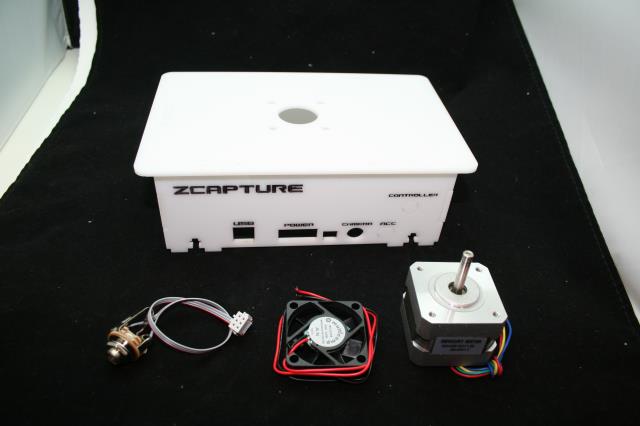
In this section we will be doing the final assembly of the core system. You can see a bunch of parts laid out and you will have to have completed the previous steps to be able to finish this section.
Part one will be mounting the circuit board to the base of the chassis. For this you will need 4 screws and nuts and 4 spacers.
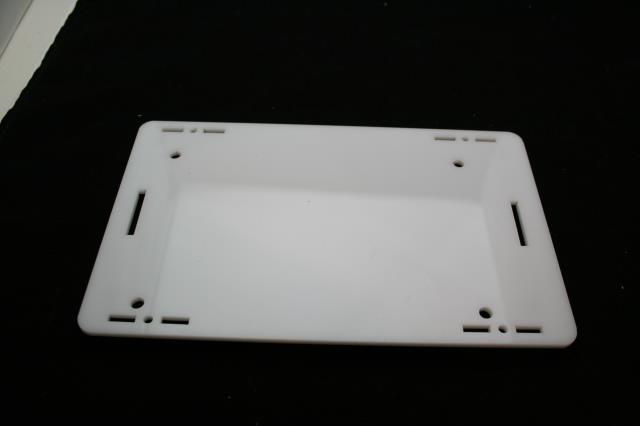
Here we can see the base plate, please note the orientation of the holes so that you don’t mount the board backwards.
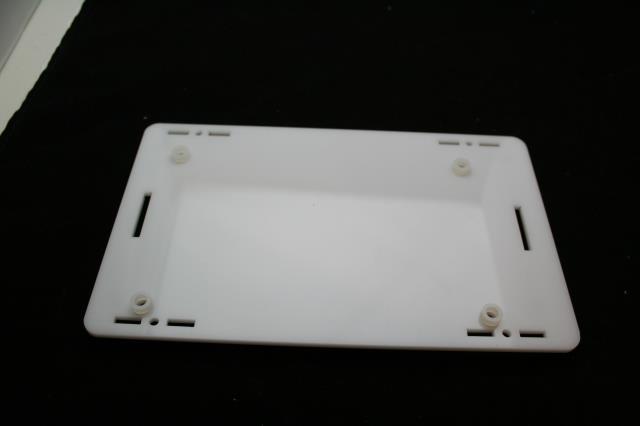
Place the nylon spacers on the holes
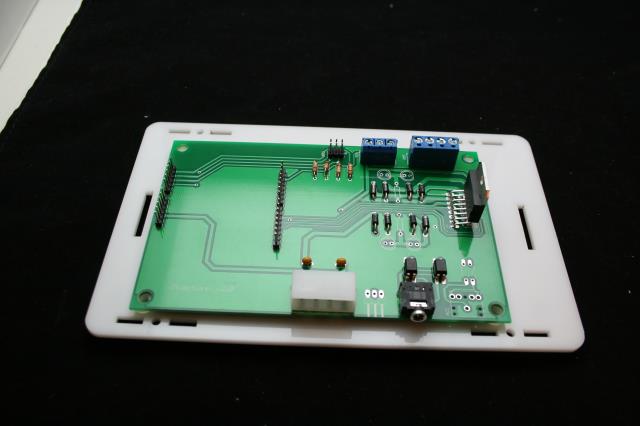
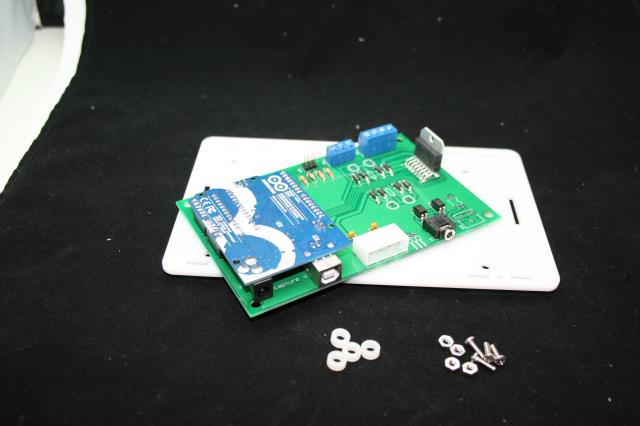
Next carefully place the board on as shown matching with the spacer holes.
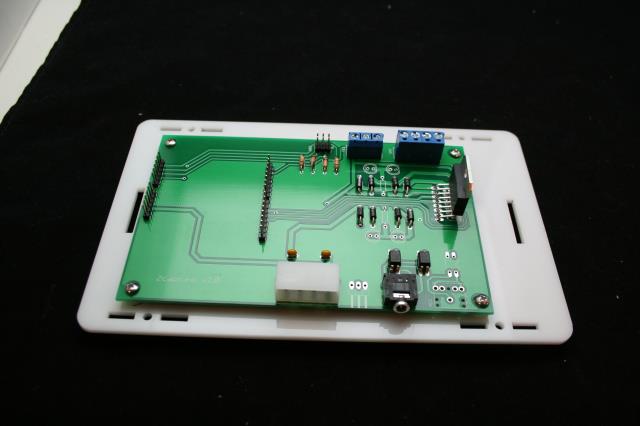
Next insert the screws into the holes. This will hold everything in place and then twist the nuts on from below. Tighten well with a screwdriver.
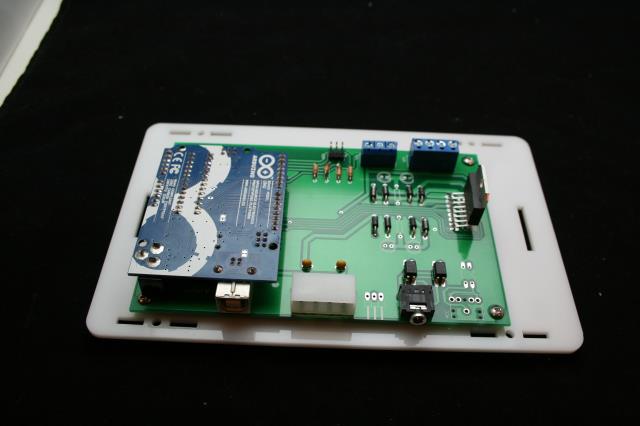
Finally mount the Arduino to the board.
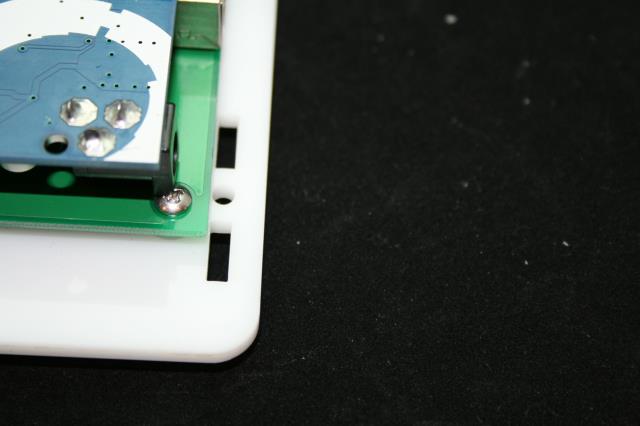
Note the way the board comes up to but not past the tab slots.
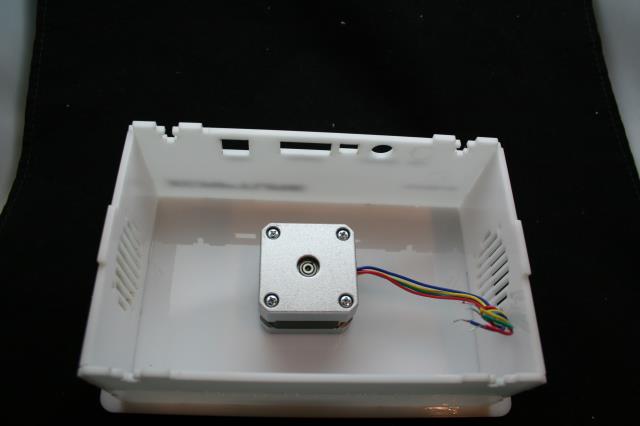
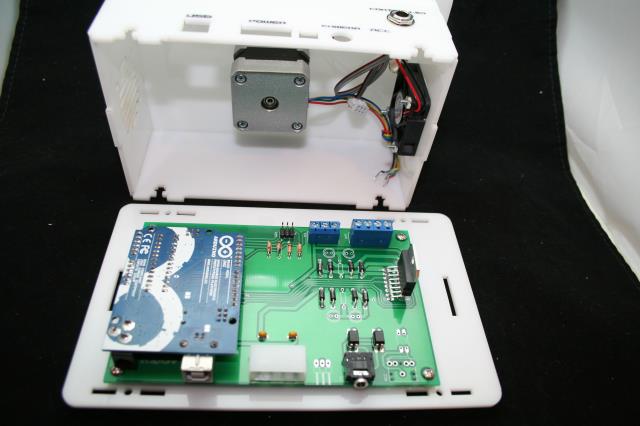
Next we will mount the other components to the inside of the chassis.
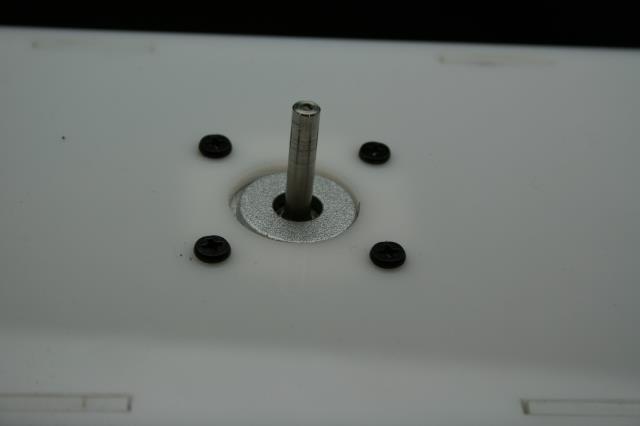
Using the supplied screws mount the stepper motor to the inside of the lid.
Note the direction of the wire from the stepper motor. If you have extra slack in your wire it can face any direction you need. But this is pointing to the terminal in this orientation.
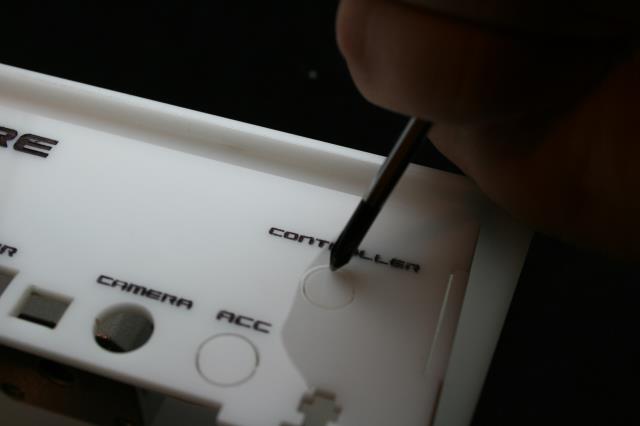
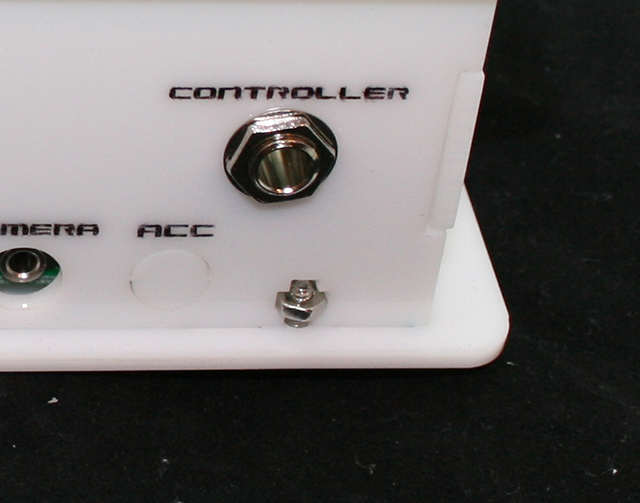
Next pop out the plug on the controller portion of the faceplate
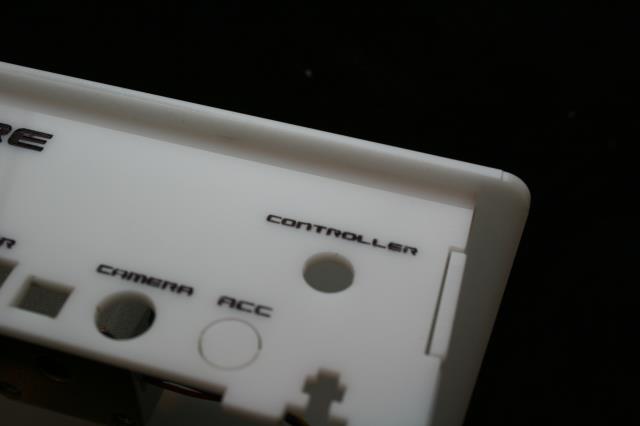
The plug has been removed.
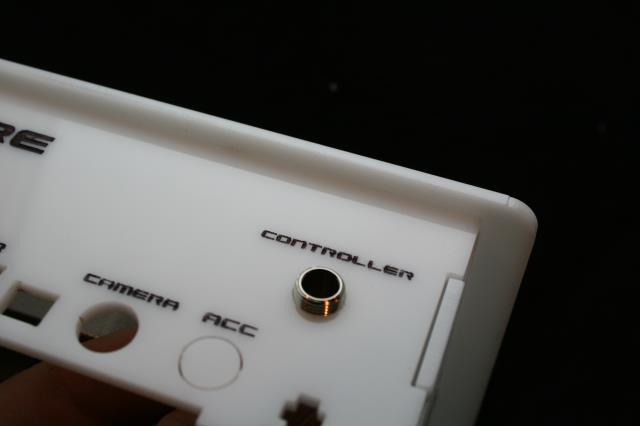
Insert the remote jack into the hole
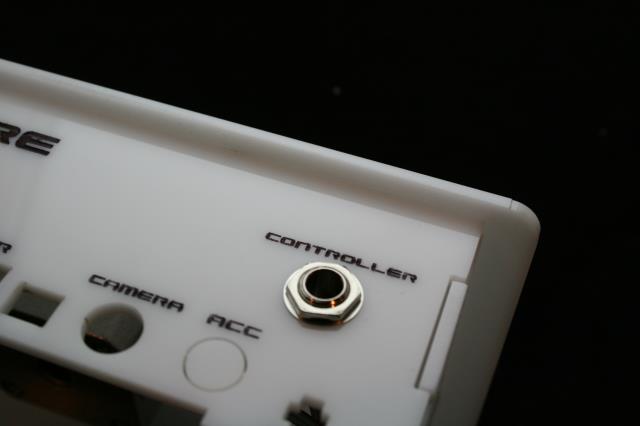
Screw down the washer and nut on the jack and tighten well.
Next we will be mounting the fan to the right side of the chassis.
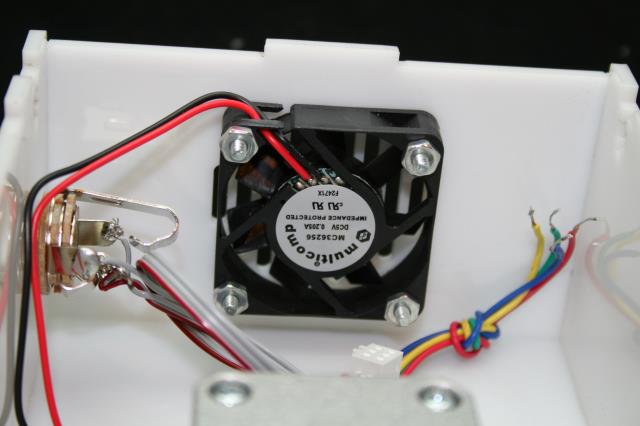
Using the long screws and nuts provided mount the fan and match the sticker facing in as well as the orientation of the wires.
Next we will be making final connections. If you place the chassis as shown it will make this a lot easier.
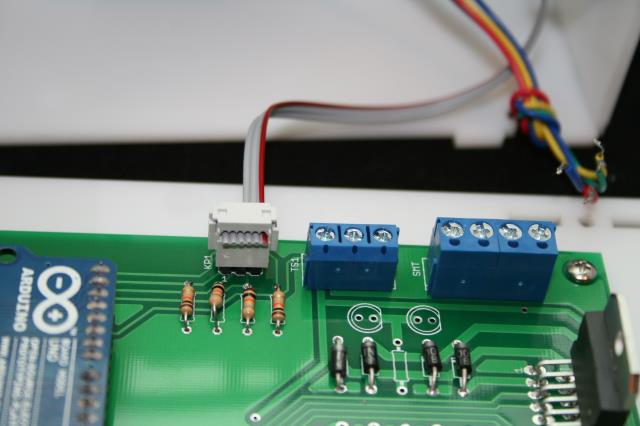
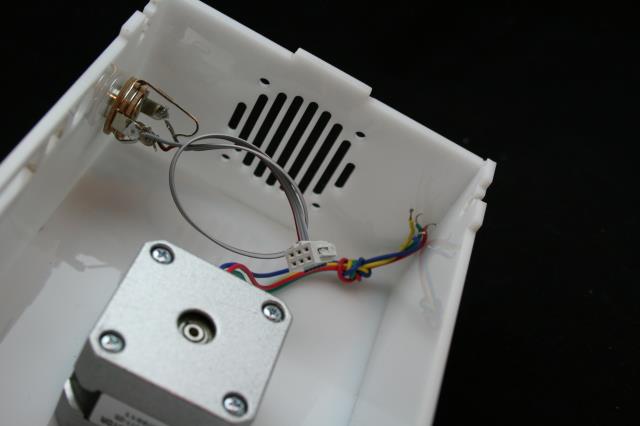
Connect the remote jack to the terminal as shown
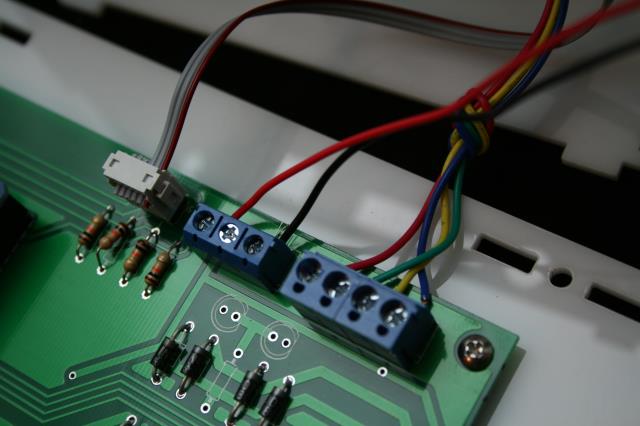
Next connect the fan power and stepper motor as shown. From left to right the stepper motor should be red, green, yellow, blue.
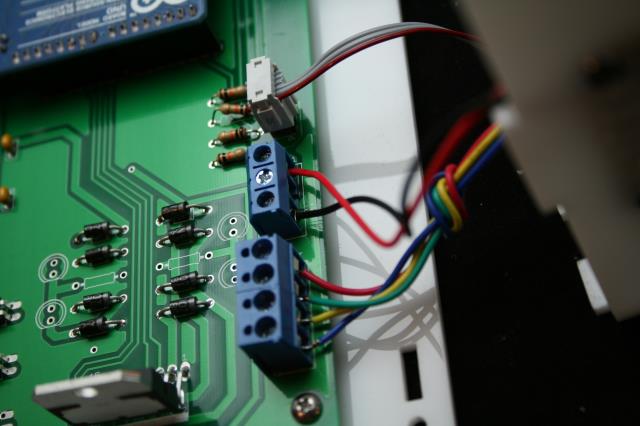
Another picture of the wiring for clarification
Next close up the shell by aligning the tabs and slots.
Secure the chassis closed with the included screws and nuts. Use tweezers or pliers to help prevent the nuts from falling into the chassis.
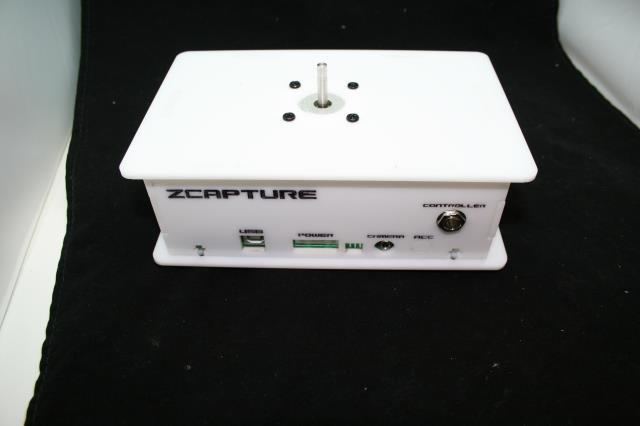
The chassis is done! I put the disk on top to signify how happy I am about this. But we will be putting that together in the next step…