Assembly Guide - Disk Assembly
Assembly Guide
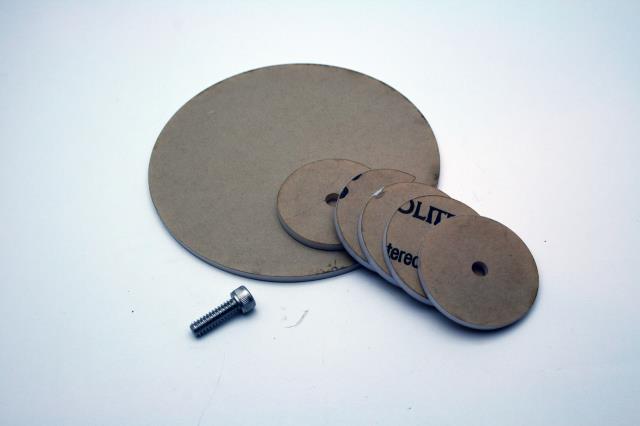
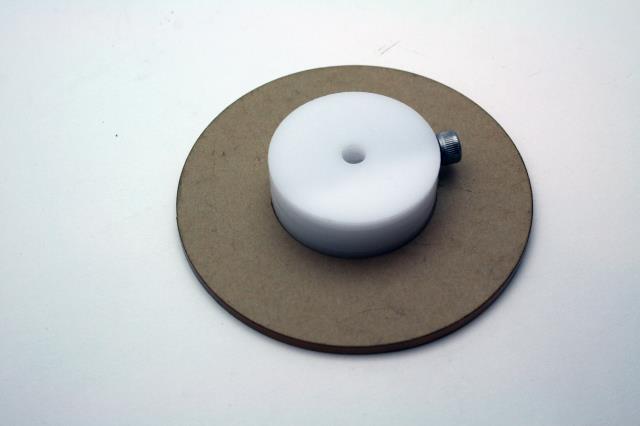
Putting the wheel (turntable) together is a easy process. Here we can see what is needed as far as parts. You will also need a drill bit and tap for a #10-24 screw and glue to assemble this.
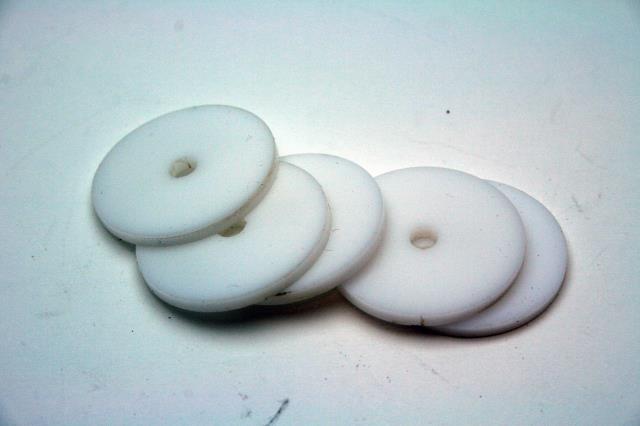
Step one is to simple remove the paper from the disk components. Do not remove the paper from the large disk.
Important!
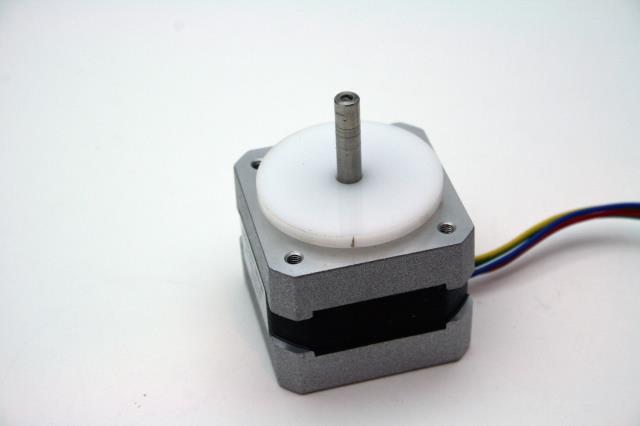
Next using the motor as a guide to align the disks we will place the bottom disk on first.
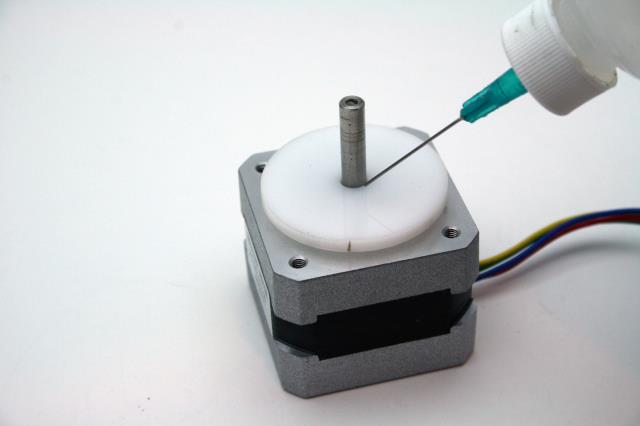
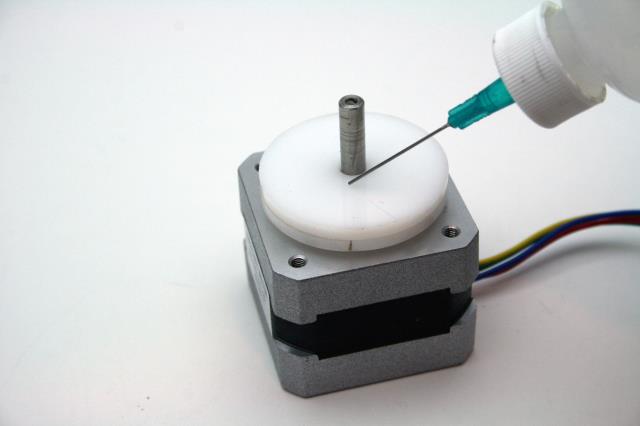
Prepare the disk with a generous amount of glue for the next one in the stack
Repeat the process of gluing and stacking again.
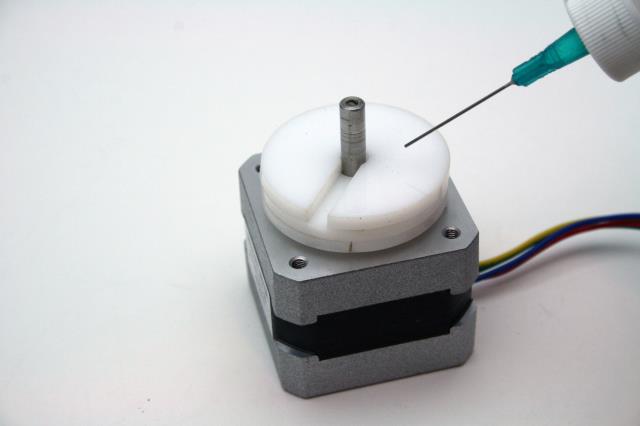
Next add the disk with the slot cut into it. A little extra glue in the slot will not be a problem as we will be drilling it out.
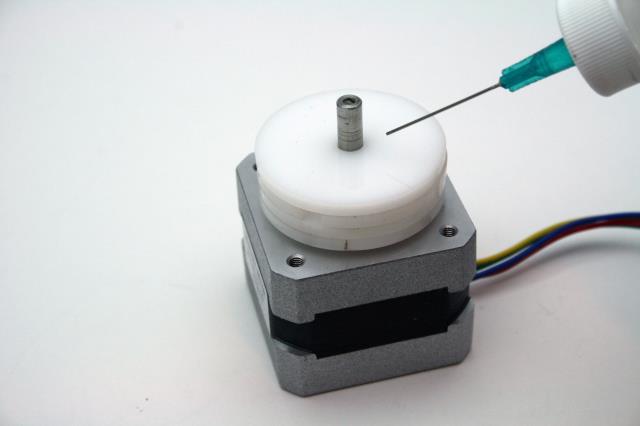
Repeat the process of gluing and stacking again.
Repeat the process of gluing and stacking again.
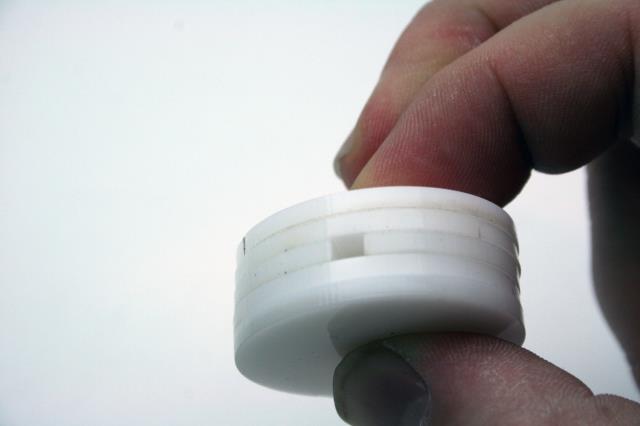
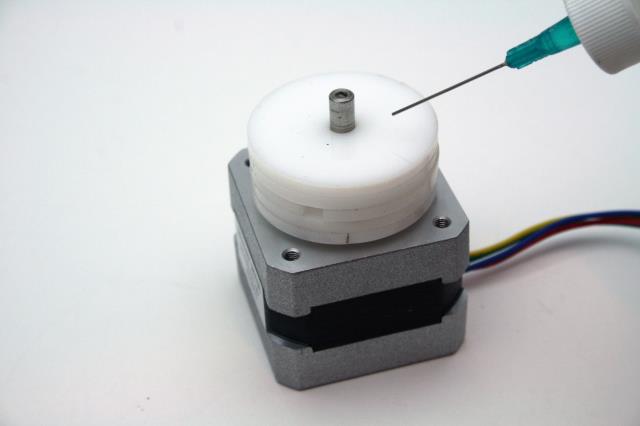
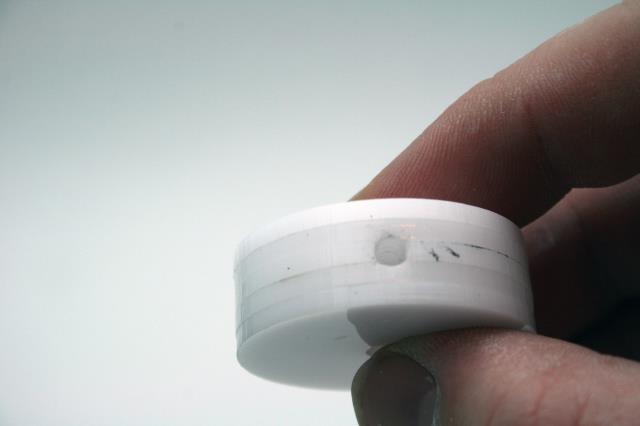
Here we can see our stack of disks and the hole in the center.
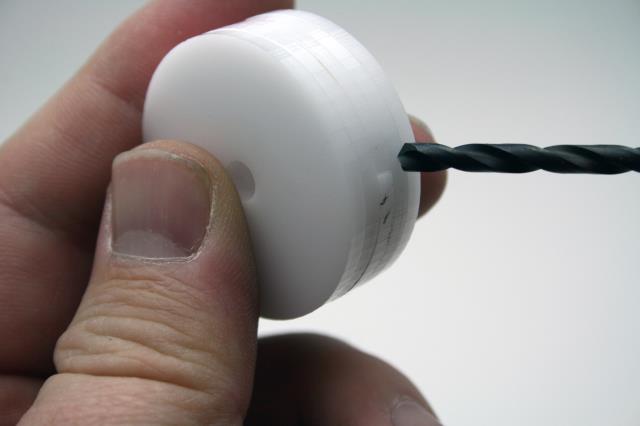
Using a drill carefully drill out the slot to prepare for the tap.
Here we can see a clean pilot hole for the tap
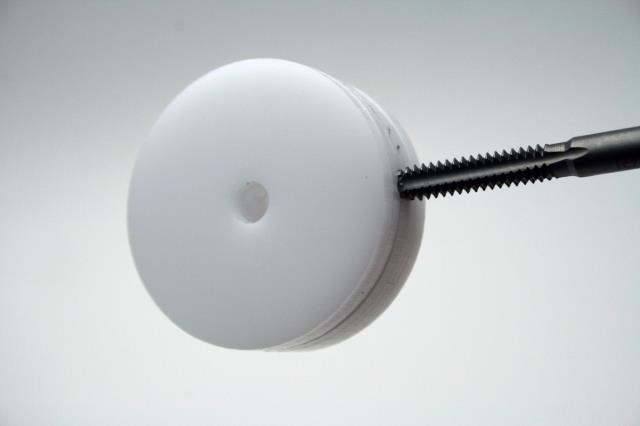
Next tap the hole we just drilled. Take your time with this step. It is also a good idea to let a few hours pass before attempting this to allow the glue to cure.
Important!
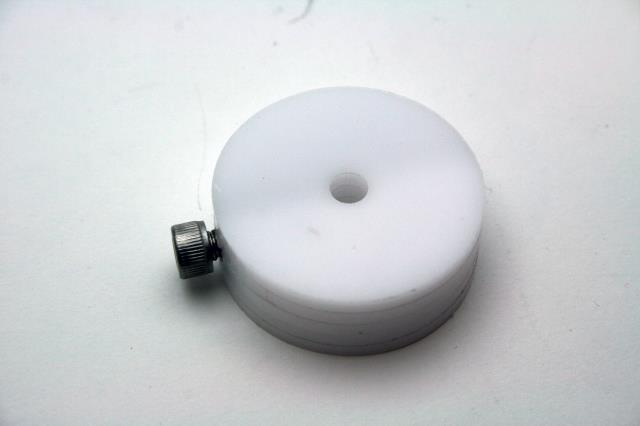
Here we can see the screw happily sitting in its newly cut threads.
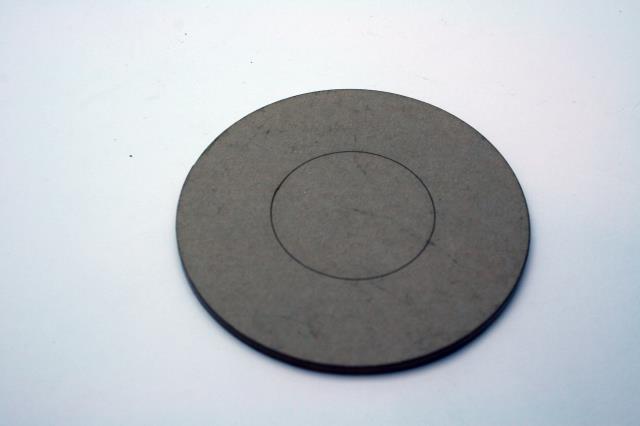
Next we will move onto the large disk. Note how we didn’t remove the paper… hope you didn’t jump the gun here… we are tiring to save you some work.
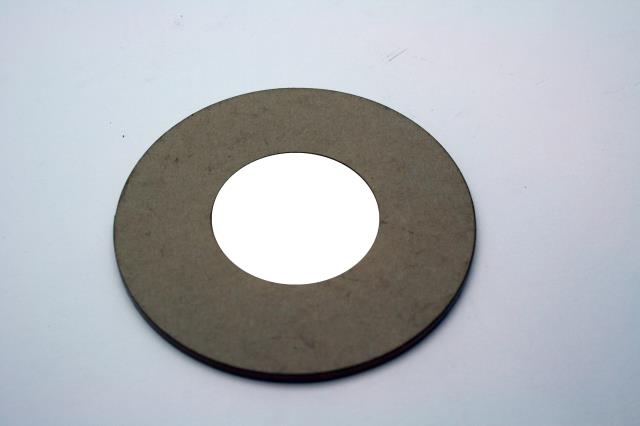
On one side of the disk we have cut the paper with a circle in the exact center. Remove only the center circle.
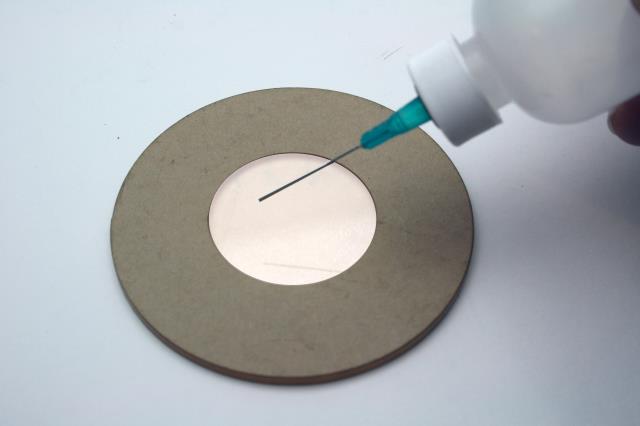
Apply glue to the center of the circle. Less around the edges near the paper.
The part we just made will now perfectly fit inside of the paper disk and the paper will help you align it to insure its in the center. Gently push down to insure it is centered.
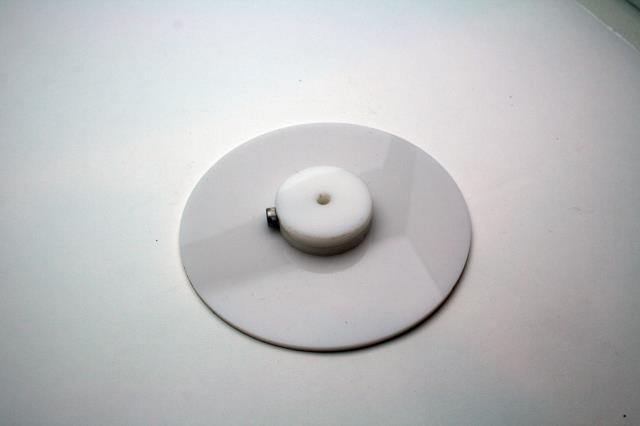
And there you have it. Remove the paper on the top now and you have a ready to use disk!