Assembly Guide - Remote Assembly
Assembly Guide - Remote Assembly
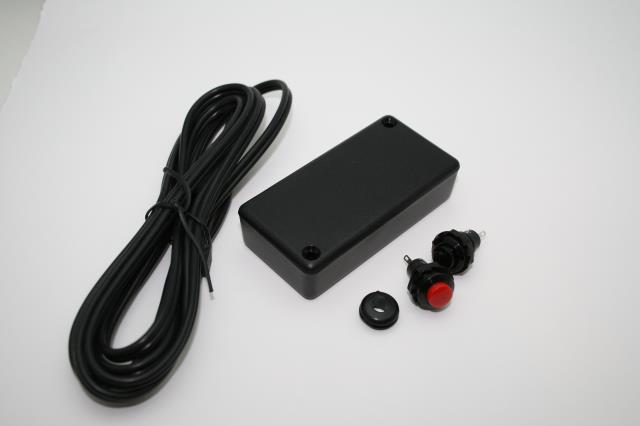
To assemble the remote you will need a screwdriver, soldering iron, wire strippers and some strong fingers.
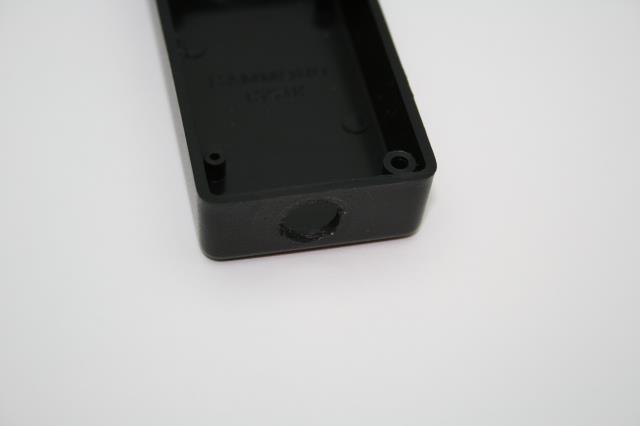
Step one is to drill a hole in the side of the box. We used a 3/8’s bit for the grommet included.
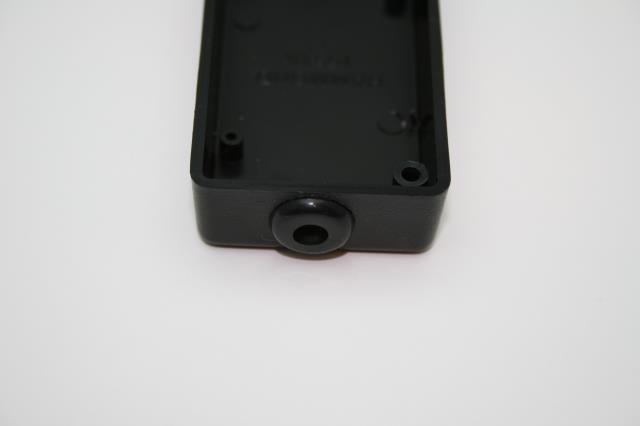
Next using those strong fingers insert the grommet into the hole.
Carefully insert about three inches of wire into the case through the hole in the grommet. If you pull to hard it can pop the grommet out so take care.
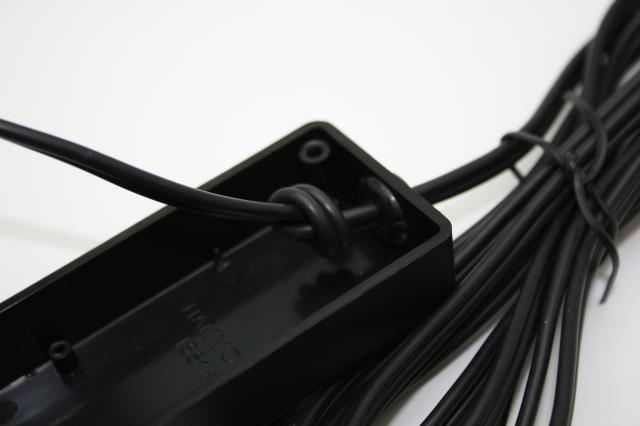
Next tie a simple knot in the wire so it will not pull its self out of the remote.
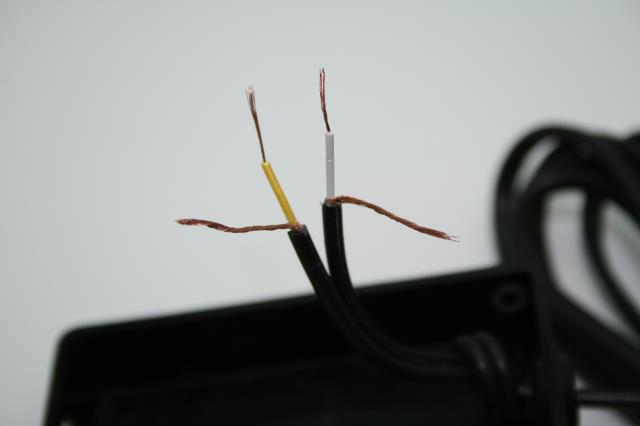
Next strip the wire ends as shown here. You will have a yellow or red wire. Make sure to attach it to the red button in the next steps.
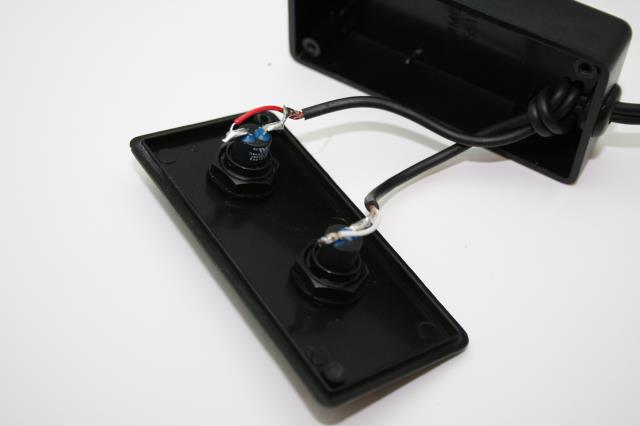
Next solder the wires in place. Note the tabs are folded to the sides to insure clearance in the project box.
Here we can see the red wire is going to the red button. Now you don’t have to do this step, you can have any color be any wire and any button… but this is how we did it…
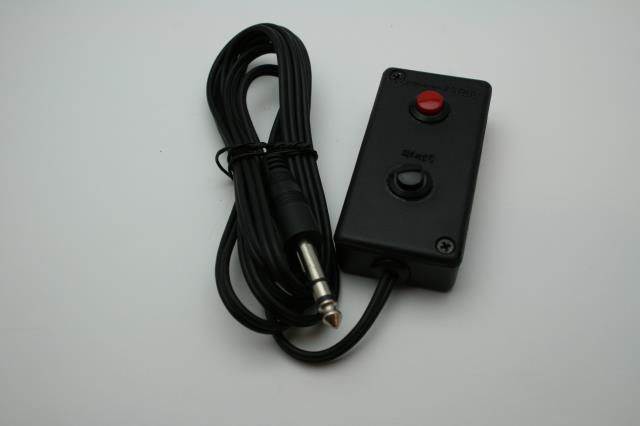
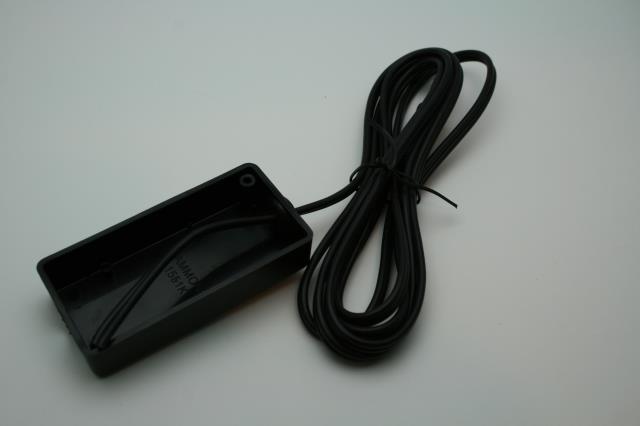
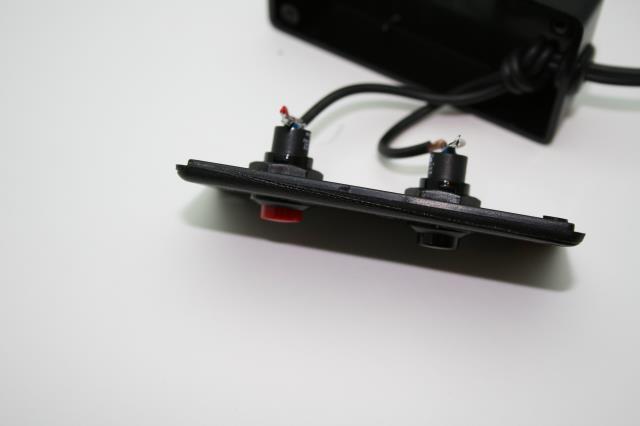
Here we have the finished remote with the lid screwed on. The case is sleek and tapers and generally feels good in the hand.